
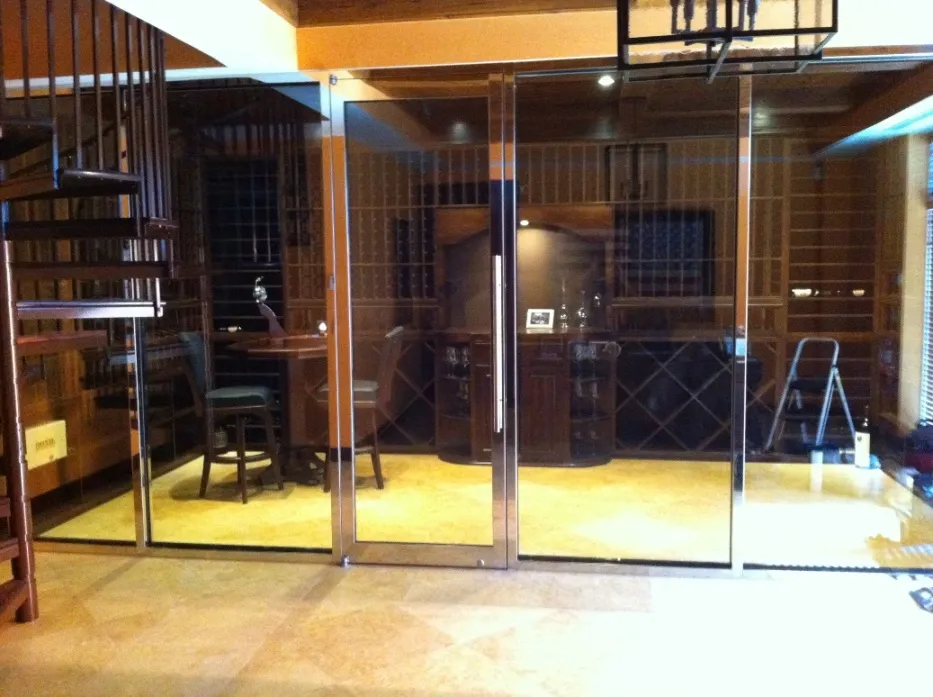
The exciting part of a new wine room is imagining bottles on the racks. The useful work happens earlier. A residential cellar needs to be comfortable to enter, organized for the collection, and prepared for a controlled environment before the first case is unpacked.
That preparation is less about adding features and more about sequencing decisions. If measurements, insulation, equipment access, and racking are considered in the right order, the room is easier to build and far less likely to require awkward fixes later.
Document the Collection and Its Growth
Start with an honest bottle count and note the formats that fall outside standard dimensions. Sparkling bottles, Burgundy shapes, magnums, and boxed sets can disrupt a layout built around one opening size. Reserve space for them from the beginning.
Then think a few years ahead. A room designed to be full on opening day has nowhere for new purchases to go. A modest buffer of flexible capacity helps the cellar stay organized as the collection changes instead of pushing overflow into hallways or cabinets.
Inspect the Room Before Designing the Racks
Wall dimensions matter, but so do floor level, ceiling changes, utilities, door swing, and access to adjacent spaces. A site inspection can reveal constraints that are easy to miss when planning from a simple sketch or real-estate floor plan.
Experienced home wine cellar builders can use those conditions to shape the layout instead of treating them as surprises. An awkward corner may become case storage, while a clean wall can carry the main display.
Prepare the Room for Environmental Control
A cooled cellar should be treated as a distinct environment. The surrounding construction needs to support stable conditions rather than allow uncontrolled exchange with the rest of the house. This part of the project belongs early in the schedule, before finished surfaces hide the structure.
Service access is equally practical. Equipment may eventually need inspection or repair, so it should not be trapped behind permanent millwork. A small access panel or a more thoughtful equipment location can save a great deal of disruption later.
Build Organization Into the Racking
Rows and bins should reflect how the owner chooses wine. Some people think by region, others by varietal, vintage, or drinking window. The physical layout does not need to dictate one method, but it should make the preferred method easy to maintain.
A residential wine cellar Orange County can combine dense storage with a few visible label rows so browsing remains simple. Clear zones for everyday wine, reserve bottles, and larger formats reduce unnecessary handling.
Check Lighting From the Bottle’s Point of View
Lighting should make labels readable and the room pleasant without overwhelming the display. Bright points reflected in glass or polished bottles can be distracting, while a dark aisle makes it harder to select wine safely.
Test the lighting from normal eye level and from the doorway. The most attractive fixture is not always the one that creates the best view. A layered, restrained approach often lets the collection stay visually dominant.
Do a Dry Run Before Installation Is Complete
Walk through the planned room while key dimensions can still be adjusted. Use tape or temporary markers to indicate rack depth and door swing, then practice entering, turning, and reaching the back wall. Physical activities will uncover issues that appear innocent on the face of it.
This dry run also helps confirm scale. A feature that seemed too small in a drawing may feel substantial in the actual room, while a planned aisle may feel tighter than expected. Small corrections are easier before racks and trim are fixed in place.
Plan the Move-In Before the Room Is Finished
The first stocking day is easier when the collection already has a simple map. Decide which sections will hold everyday bottles, long-term storage, sparkling wine, and oversize formats before boxes arrive. That keeps the new room from becoming disorganized during the excitement of moving everything in.
It also helps to leave a small landing area or clear shelf for bottles that still need to be cataloged. Not every case has to be assigned immediately. A temporary sorting spot prevents new purchases from spilling into aisles or being tucked randomly into whatever opening happens to be empty.
Conclusion
A home cellar is ready for bottles only after the room itself has been tested as a working environment. Collection data, room conditions, climate preparation, access, organization, and lighting all deserve attention before the final styling takes over.
For homeowners preparing a new project, customwinecellarsorangecounty.com offers a useful place to review residential ideas while building a checklist around the realities of the specific home.
